
Quick save · key takeaways
- Download the image that matches your device, GPU and desktop from the official picker.
- Flash with Fedora Media Writer, balenaEtcher or Rufus in DD mode.
- Enroll the Secure Boot key on first boot with the password universalblue.
- Run an update straight after installing, then reboot.
Installing Bazzite takes less time than most people expect. On a desktop with a fast USB drive, you can go from a blank SSD to your Steam library in well under an hour, and much of that is waiting for downloads. The steps that actually matter are choosing the correct image, preparing the USB stick properly and handling Secure Boot on the first restart. Get those three right and the rest is a guided wizard.
This Bazzite install guide covers desktops, laptops, Steam Deck and other handhelds, with notes for dual-boot setups and for people moving from another Fedora Atomic system. If you only want to know which ISO to download, start with the companion article on the Bazzite OS download; this page assumes you are ready to install.
Before you start: a five-minute checklist
Most failed installations come from a skipped preparation step, not from Bazzite itself. Work through this list first.
- Back up anything you care about. A clean install erases the target drive. If you are dual-booting, back up the other operating system too; partitioning mistakes are rare but unforgiving.
- Know your GPU. AMD and Intel graphics use the standard images. NVIDIA GeForce cards need an NVIDIA image, and the generation matters: GTX 16-series, RTX 20-series and newer have the broadest support, while GTX 900 and 1000-series cards rely on NVIDIA's long-term driver branch.
- Pick a desktop. KDE Plasma is the default and suits most people coming from Windows. GNOME is the alternative. You can rebase later, so this is not a permanent decision.
- Find a USB drive. Bazzite ISOs are several gigabytes because they contain a complete system image. Use a 16 GB or larger stick, ideally USB 3, and expect it to be wiped.
- Plan your storage. The system and a few games fit comfortably on 128 GB, but modern games are large. A dedicated SSD of 500 GB or more is a sensible target for a gaming machine.
- Have a network connection. Wired Ethernet is easiest during installation; Wi-Fi works on most hardware after first boot.
Step 1: Download the right image
Go to the official image picker on bazzite.gg. It asks the same questions our homepage finder does: your hardware type, GPU vendor and desktop preference. The common outcomes are:
| Your machine | Typical image |
|---|---|
| Desktop or laptop, AMD or Intel graphics | bazzite (KDE) or bazzite-gnome |
| Desktop or laptop, recent NVIDIA graphics | The NVIDIA desktop image for KDE or GNOME |
| Steam Deck LCD or OLED | bazzite-deck or bazzite-deck-gnome |
| Other supported handheld | The deck image family, after checking your model's notes |
| Living-room PC with AMD or Intel graphics | bazzite-deck, which boots into Game Mode |
Image names occasionally change between releases, so trust the picker over any table, including this one. After the download completes, verify its checksum as described in the download guide. It takes a minute and rules out a corrupted file before you spend time flashing it.
Step 2: Write the ISO to a USB drive
The ISO must be written to the stick as a disk image, not copied onto it as a file. Use a dedicated flashing tool:
- Fedora Media Writer on Windows, macOS or Linux, which is designed for Fedora-based images.
- balenaEtcher on Windows, macOS or Linux, which has a simple three-step interface.
- Rufus on Windows. If it asks how to write a hybrid image, choose DD image mode.
Multi-boot tools such as Ventoy are convenient, but they have caused boot problems with Bazzite images in the past. If you hit an error booting from such a stick, re-flash it with one of the tools above before troubleshooting anything else.
Step 3: Prepare your firmware
On a desktop or laptop, enter the firmware setup (often Delete, F2 or F10 during power-on) and check a few settings:
- Boot mode: UEFI. Legacy or CSM boot is not supported.
- Secure Boot: it can stay on. Bazzite supports it using its own signing key, which you enroll during the first boot. If you would rather avoid the enrollment step, you can disable Secure Boot, but games with certain anti-cheat requirements may expect it.
- Storage mode: on some Intel laptops the SSD is set to RAID or Intel RST. Linux installers may not see the drive in that mode; switching to AHCI usually fixes it, but changing it under an existing Windows installation needs care.
- Fast Boot: disabling it makes it easier to reach the boot menu.
Then plug in the USB drive and open the one-time boot menu (commonly F12, F11 or Esc) to start from it.
Booting a Steam Deck from USB
Connect the USB drive through an adapter or dock, power the Deck off completely, then hold Volume Down and press Power. Release when you hear the chime. The Boot Manager appears; select the USB device. Other handhelds have their own key combinations, usually a volume button held during power-on; check the model-specific page in the Bazzite documentation.
Step 4: Run the installer
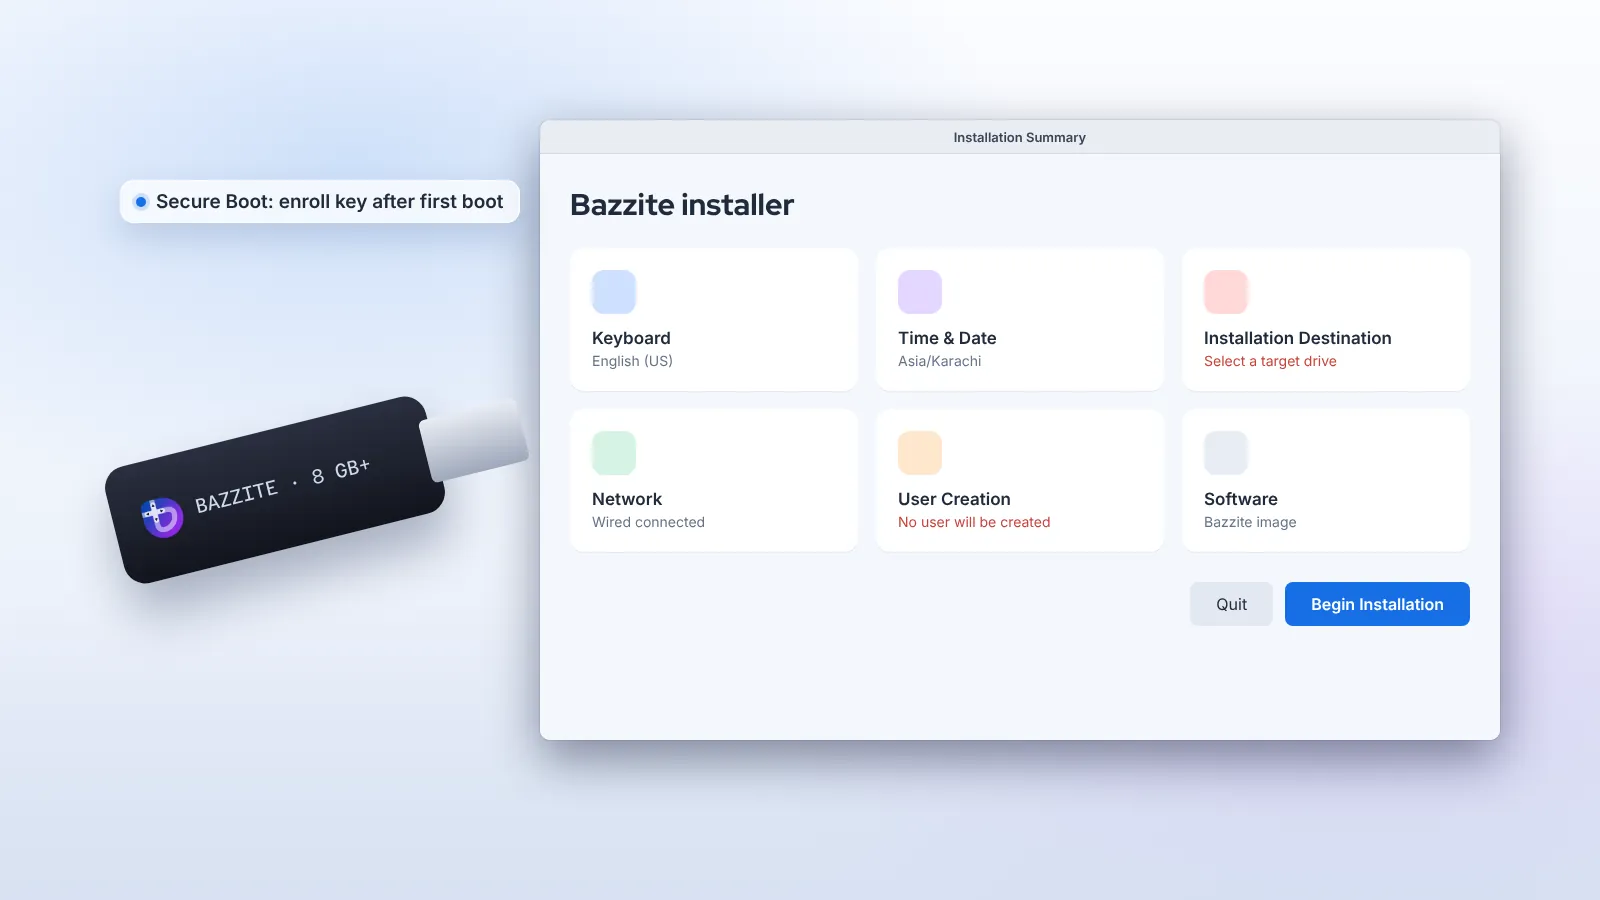
The stick boots into Fedora's installer, branded for Bazzite. It presents an installation summary with several items to complete. Items needing attention are highlighted.
Language and keyboard
Choose your language and keyboard layout. These can be changed later in the desktop settings.
Installation destination
Select the target drive. For a single-OS install, choose automatic partitioning and allow the installer to reclaim all space on that drive. Bazzite uses Btrfs by default, which supports compression and snapshots and works well with the atomic layout. You can tick the encryption option here to protect the drive with a LUKS passphrase; on a laptop you carry around, this is strongly recommended.
Network and time
Connect to a network if you are not already, and confirm your time zone. Correct time avoids certificate errors on first boot.
Begin installation
Click Begin Installation. Because Bazzite deploys a complete image, this phase consists largely of copying and unpacking that image to the disk. On a fast SSD it takes a few minutes; on a slow USB 2 stick it can take noticeably longer. When it finishes, remove the USB drive and reboot.
Step 5: Enroll the Secure Boot key
If Secure Boot is enabled, the first restart shows a blue MOK Management screen. This is expected: the firmware is asking whether to trust Bazzite's signing key.
- Choose Enroll MOK.
- Choose Continue, then Yes.
- Enter the password
universalbluewhen prompted. Nothing appears as you type. - Choose Reboot.
If you miss this screen, the system may refuse to load the kernel modules it needs. You can trigger the enrollment again from a running system with ujust enroll-secure-boot-key, which uses the same password.
Step 6: First boot and setup
On first boot you create your user account, if you did not do so in the installer, and you are greeted by the Bazzite welcome flow in Bazzite Portal. Work through it rather than closing it; it is where you choose optional extras.
- Applications: pick additional apps such as browsers or communication tools, installed as Flatpaks.
- Gaming add-ons: on deck images you can install Decky Loader for Game Mode plugins, and on any image you can enable tools such as Waydroid for Android apps.
- Updates: run an update straight away. The ISO you installed was built some time ago; the first update brings you to the latest stable image, Flatpaks and firmware in one pass.
From a terminal, the equivalent command is ujust update. After it finishes, reboot to start the new deployment.
Signing in to Steam
Desktop images place Steam in the application menu; deck images start in Game Mode and ask you to sign in immediately. Steam enables Proton for supported titles automatically. For games without an official compatibility rating, you can force a Proton version per game in its properties.
Dual-booting with Windows
Bazzite can live beside Windows, and many players keep Windows for the handful of games with anti-cheat that does not support Linux. The simplest and most reliable approach is to put each operating system on its own physical drive. Each drive then has its own boot partition, Windows updates cannot overwrite Bazzite's bootloader, and you pick the system from the firmware boot menu or the GRUB menu.
Installing both on a single drive is possible: shrink the Windows partition from Windows Disk Management first, then use custom partitioning in the Bazzite installer to use the free space. It works, but it is more involved and more fragile, and the Bazzite documentation has dedicated guidance you should read first. On a Steam Deck, dual-booting with SteamOS on the internal drive is supported through documented steps, but a clean install is still the least troublesome option.
One extra tip: Windows and Linux interpret the hardware clock differently. If your clock jumps by a few hours after switching systems, set Windows to use UTC or adjust the setting in Bazzite.
Installing without a USB stick: rebasing
If you already run a Fedora Atomic desktop such as Silverblue or Kinoite, or another Universal Blue image, you do not need an ISO. You can switch the running system to Bazzite with a single rebase command, using the image name for your variant:
rpm-ostree rebase ostree-unverified-registry:ghcr.io/ublue-os/bazzite:stable
systemctl reboot
After the first reboot, you can move to the signed form of the image so future updates are verified; the Bazzite documentation lists the current recommended command. Rebasing keeps your home folder and Flatpaks, which makes it a comfortable way to trial Bazzite on a machine you already use.
After installation: the first hour
A few small tasks make the machine feel finished:
- Check your display. In display settings, set the correct refresh rate and enable variable refresh rate if your monitor supports it. HDR options appear on supported displays and GPUs.
- Pair controllers. Bluetooth pads pair in system settings; Xbox wireless adapters work through the bundled driver.
- Install apps from Bazaar. Browsers, Discord, office suites and media players are all Flatpaks.
- Add a second drive for games. Format it in the partition manager, mount it, then add it as a Steam library folder. Btrfs or ext4 both work well.
- Learn where rollback lives. Bazzite Portal has a rollback action, and
rpm-ostree rollbackdoes the same from a terminal.
Troubleshooting common install problems
The USB drive does not appear in the boot menu
Confirm UEFI boot is enabled and re-flash the stick with Fedora Media Writer or balenaEtcher. Try a different USB port, preferably one directly on the motherboard.
The installer cannot see my SSD
On many Intel laptops this means the storage controller is in RAID/RST mode. Switch to AHCI in the firmware, keeping in mind the effect on any existing Windows installation.
Black screen after boot on NVIDIA
Make sure you installed an NVIDIA image and enrolled the Secure Boot key. Without the key, the NVIDIA kernel modules cannot load while Secure Boot is active.
Wi-Fi is missing
Some very new wireless chips need a newer kernel than the ISO contains. Connect by cable or USB tethering, run an update and reboot.
An update caused a problem
Reboot and choose the previous deployment at the boot menu, or run rpm-ostree rollback. You can pin a working deployment with sudo ostree admin pin 0 until a fix is released.
Summary
A Bazzite install comes down to six stages: download the image that matches your hardware, flash it with a proper tool, set the firmware to UEFI, run the installer, enroll the Secure Boot key with the password universalblue, and update on first boot. Dual-booting is easiest with separate drives, and existing Fedora Atomic users can rebase instead of reinstalling. Once installed, the image-based design means you rarely need to repeat any of this, because every update is a tested whole you can roll back.
Frequently asked questions
How long does a Bazzite install take?
The installer itself usually finishes in a few minutes on an SSD. Allow 30 to 60 minutes overall, including the download, flashing, first update and Steam sign-in.
Do I need to disable Secure Boot?
No. Bazzite supports Secure Boot with its own key. Enroll it on the first boot using the password universalblue.
Can I install Bazzite on an external SSD?
Yes, and it is a popular way to try Bazzite without touching an internal drive. Performance depends on the enclosure and port; USB 3.2 or Thunderbolt enclosures work best.
Will installing Bazzite on a Steam Deck void my warranty?
Valve allows Deck owners to install other operating systems, and you can restore SteamOS with Valve's recovery image at any time. Check the current terms for your region if warranty is a concern.